


How to do...Floral Print Nail Art
It has also helped trends including hippy, retro and even the swinging sixties and seventies find their place in contemporary fashion.
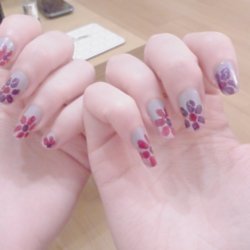
If we combine our love for all things floral and our enthusiasm for nail art at present, you can only achieve some great looks but have a lot of fun in the process. Take a little look at how I achieved this effective flower print design and give you a simple run through as to how you can achieve the same.
You will need:
A base coat colour of your choice
2 complimenting varnishes for the flower designs
A top coat
2 point-ended cotton wool buds
So...
1. Add two colours of your chosen base colour and leave to dry thoroughly. For my manicure I used a two toned base coat with purple for added effect. (Click here for that manicure).
2. When dry, remove the lids of the two compliment colours (I chose a rich burgundy and dark purple) and put to one side.
3. Carefully dip the pointed cotton buds into the varnish pot, remove the excess and dap a spot of your colour somewhere off-centre on the nail (for added effect, place in different places on each nail).
4. With the other colour, do the same and dip the bud into the pot. Carefully, around the spot, add petal shape around it. It doesn't need to be perfect, try and creat the shape by dabbing ligting and then sweep across to fill in the shape.
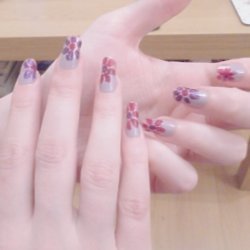
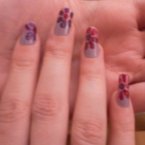
5. Do the same for each nail, but alternate between the different colours for the petal and middle colours as seen on mine. (If you have the colours and time, why not create a different combination on each nail).
6. When the flowers have dried at a clear top coat to add shine and protect the designs.
**Quick Tip: If you're looking for added detail, using a crackle polish for the petals will give the appearance of the lines you see on the real thing.
Why not let us know what you think or if you have any nail art ideas?
FemaleFirst Jenna Fordie twitter @Jenna_FAM
Tagged in Nail Art