

The summer holidays are coming to an end- Hurray! I hear you parents shout- But if you’re looking for something fun and creative to keep the kids entertained for the last stretch, it’s time to bring out your artistic side and get the kids involved in simple and creative crafts that will add a little sparkle to their bedrooms.

Parenting on Female First
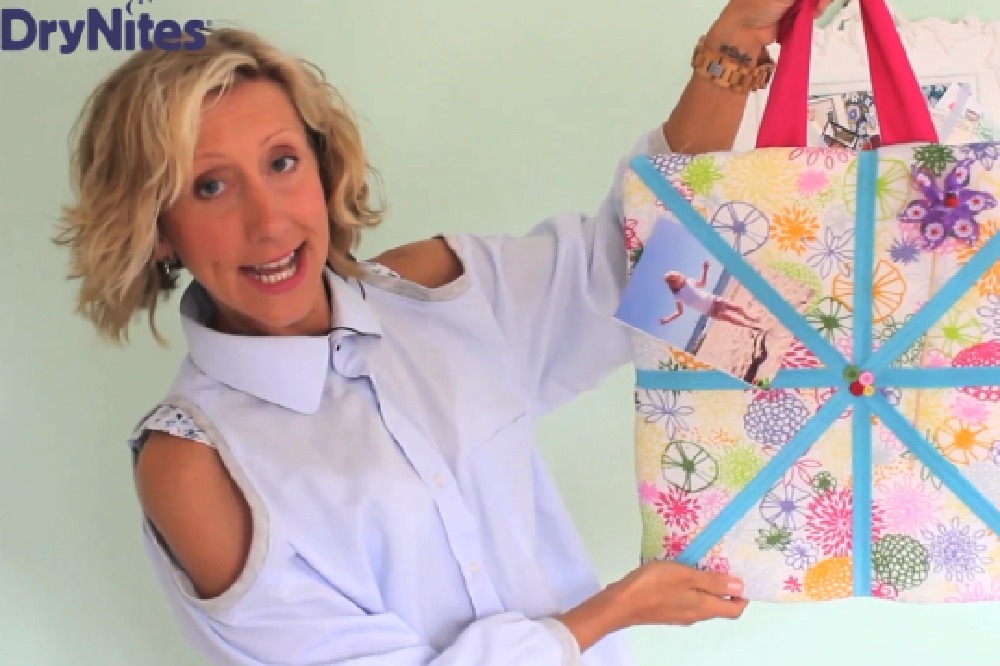
Project 1 - Pin Board
Materials:
- Base – this can be “ready-made” cork board, plywood or a stretched canvas (I will be demonstrating a cork board and a canvas)
- Wadding or foam – buy from a fabric or haberdashery store
- 4 mtrs of elastic – this can be coloured, minimum 5mm wide, buy from fabric or haberdashery store
- Thumb tacks
- Staple gun
- Glue gun
- Picture hook – unless using a cork board which will come with one
- Buttons to decorate
- Fabric – old pillow case, duvet cover, old clothing, baby blanket
Cut a piece of wadding or foam the same size as your base and then cut a piece of fabric 5cm larger than your base.
Sandwich your foam or wadding between the fabric and base. Using the staple gun stretch the fabric over your base and fix it to the back, placing the staples evenly around the base. The best way to get it even is to staple the centre of each side first, stretching out the tension and then staple between these four until your cover is secure. Try to be as neat at possible.
Cutting the elastic into six even strips, attach it evenly in stripes diagonally across the board to create a lattice.
Where the elastic crosses over each other either staple to the board or thumb tack, creating a “cushioned” look.
These staples or thumb tacks can be covered up with decorative buttons, attached using the glue gun. Flip your pin board over and attach your picture hook if using.
Now you are ready to pin! Because we are using elastic we can pin 3D objects – toys, keepsakes etc.
Project 2 - Lamp Base

Materials:
- Working lamp base
- Old plastic toys
- Sand paper
- Glue gun
- Spray paint or paint that doesn’t need a primer (chalk paint)
Start by cleaning the lamp base to remove any grease, do the same with your chosen toys. You will need to scrape your items to create a rough surface to help them stick together; you are creating a rough surface for the glue to stick to. Using the sand paper, rough up your toys and the lamp base.
Wipe any dust off with a damp cloth, arrange your toys on your lamp base and glue with the glue gun.
Using your spray paint or pot of paint cover the entire lamp base including the toys that you have glued on. Make sure you cover any on/off switches so that they do not get stuck and you are able to switch your lamp on!
Shade
Materials:
- Lamp shade
- Thin card (this can be coloured)
- Craft knife and cutting board
- Glue gun
- Pre-cut shapes or stencils
It is really easy to up-cycle the shade of your lamp.
Cut a piece of card to fit the outside of your shade. Using the shapes as stencils draw around them and cut out, being careful of fingers! You could also free hand draw your own design on the card and cut out.
Carefully glue your card to the rim of the original shade.
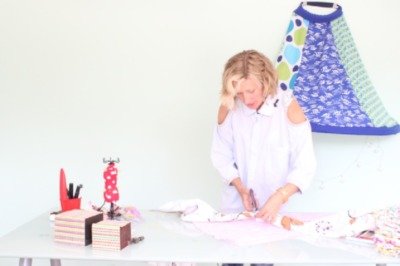
Project 3 – Bed Den
Materials:
- Bed sheet or duvet cover
- 2 x 1mtr hard floor draft excluders or 2 x 2mtr foam strips 3cm wide
- 4 mtrs of wide elastic
- Sewing machine
- Scissors
- Thread
- Glue gun
- Glow in the dark stars or fairy lights
Start by cutting out your cover which will be 2 x pieces of fabric 2mtrs x 1mtr. Placing right sides together sew up the four sides, leaving a small gap to be able to pull through your “square” to the right side. Pull though so that the right sides are now exposed and hand sew up the small gap. Iron.
Cut four strips of your fabric to cover the foam strips in the same way as above leaving one small end open. When you have pulled the right sides through, insert the foam struts and hand sew the opening shut.
If you are using the pre-cut draft excluders you will need to glue two together to make both supports.
Attach your supports to either end of the large square, by hand stitching or gluing.
This is a good time to attach any decoration you want to add to the inside of your den – whilst the structure is flat.
Measuring the width of your bed cut out two pieces of elastic and attach them to form two loops at the top and bottom of the square.
Now you are ready for a midnight feast!