

How to Get a Photo-Finish Makeup Base
No matter how good your makeup looks in the mirror, it doesn’t always look the same way in photos. Here, we’re going to help you understand why this can happen and, more importantly, what you can do to avoid it.
Following this guide, you will be able to create a photo-ready makeup base in no time. And, you’ll be using products that you probably already have in your makeup bag, like a foundation stick, your favourite foundation, and primer.
Why Does My Makeup Look Different in Photos?
First things first, why does makeup often not photograph well? The main reason is that although cameras can produce very detailed likenesses of the subject they are shooting, they will never see in quite the same way as a human eye. That’s why you might see a photo of yourself and think, “Do I really look like that?”; what you see in the mirror is always different from how a camera will see you.
The camera’s flash can also change the way your makeup shows up in photographs. Again, you might have found that your makeup looks different under the bright artificial lighting in the bathroom compared to when you are out in natural light. The camera’s flash works in a similar way - light bouncing off your face will make your makeup look different and not always in a good way.
So, it’s not always a case of layering on as much makeup as possible to make sure you’re camera-ready. Although you might think this is the best way to mask any imperfections and ensure you look your very best for the photos, following our tips below is guaranteed to give you better results.
Don’t Skip a Primer
Primer should be a part of your day-to-day makeup routine, not just when you want to look your best on Instagram! Well-applied primer is essential for evening out your skin tone and providing a smooth, even base for your foundation to cling to. So, it will also help your foundation stay in place throughout the day, and night, meaning you’ll look perfect in selfies all day long!
Using a primer will help mask any imperfections that may otherwise be highlighted by the camera - we’ve all been there!
Choose the Right Foundation, and Apply it Properly
The next step is a foundation. However, you don’t want just any old foundation if you want to look your best for the camera.
It’s often best to opt for a matte-finish foundation if you know you will be on camera. Dewy and satin finishes can give you a shinier appearance, which will be further intensified by the lighting on-camera. A matte foundation will give you a flawless finish without adding glare from the camera flash.
How and When to Use Concealer
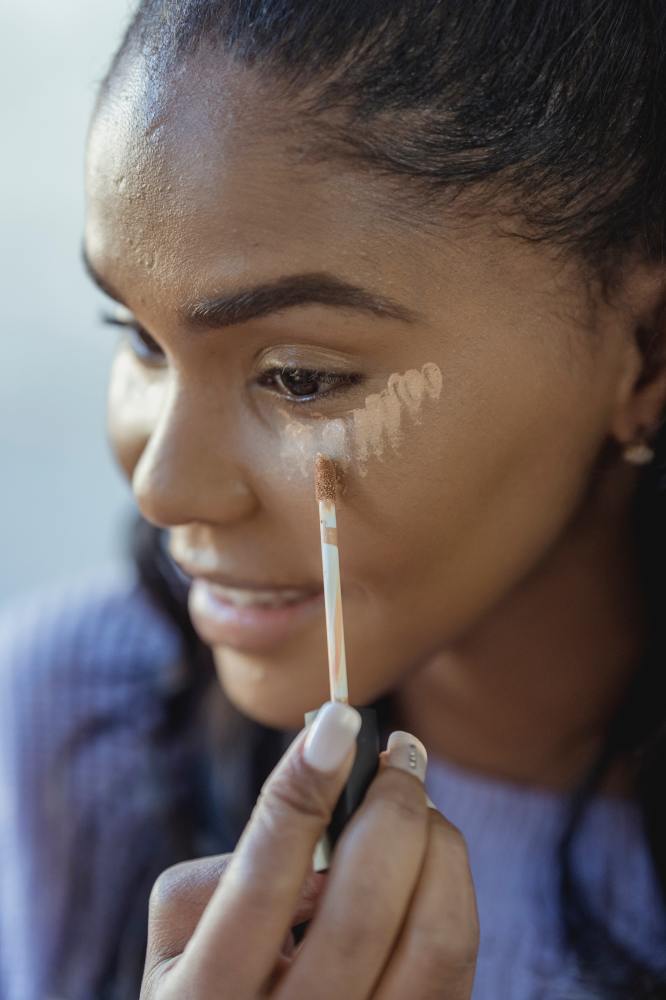
After applying primer and foundation, the next thing you’ll want to do is further mask any remaining imperfections with a concealer. Of course, you’ll need to choose a shade that blends in well with your foundation and your natural skin tone. Otherwise, you could end up further drawing attention to any blemishes, rather than away from them!
Go easy with concealer, and make sure it is blended in well. If you’re looking to hide dark circles under your eyes, it can help to blend your concealer with a little foundation first. Otherwise, there’s a chance that your concealer will show up brighter under bright lighting like a flash - making the area under your eyes look too white rather than too dark!
Avoid Extreme Contouring
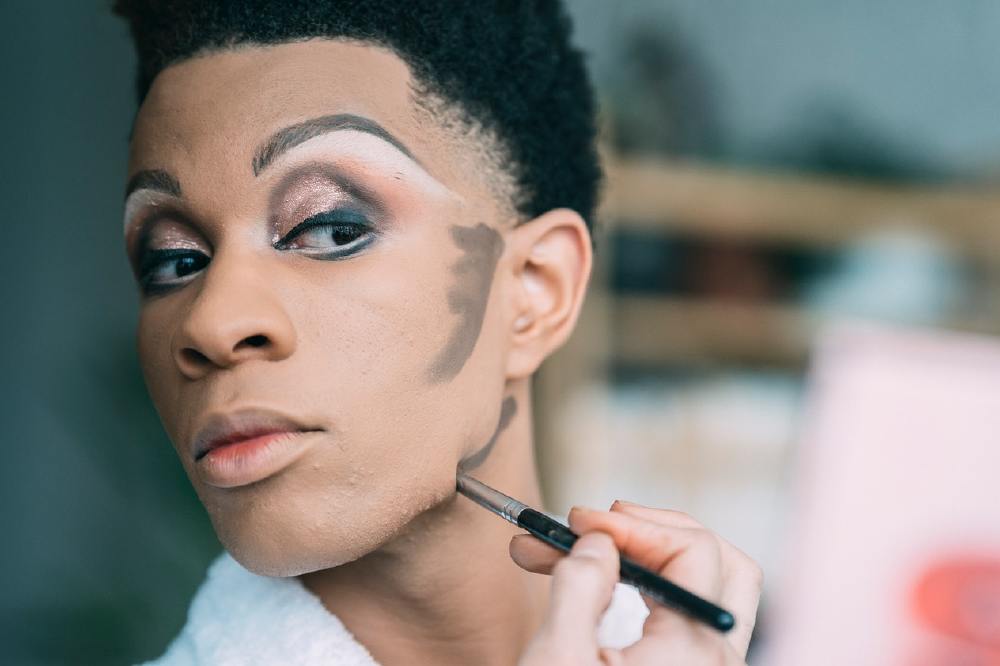
Contouring has its place, but it’s not always the best technique if you know you’re going to be on camera - it can often end up looking too heavy and harsh. Using too much liquid foundation and other products can give you a more ‘cakey’ appearance, rather than the flawless, airbrushed effect you were hoping for.
A better alternative is to highlight certain parts of your face with blush, bronzer, and highlighter. Try applying a little highlighter across the top of your cheekbones, down the centre of your nose, and around the inner corners of your eyes. Blush should be applied sparingly under your cheekbones. This should give you a healthy, natural glow when the camera is on!
Finish Your Look With Powder
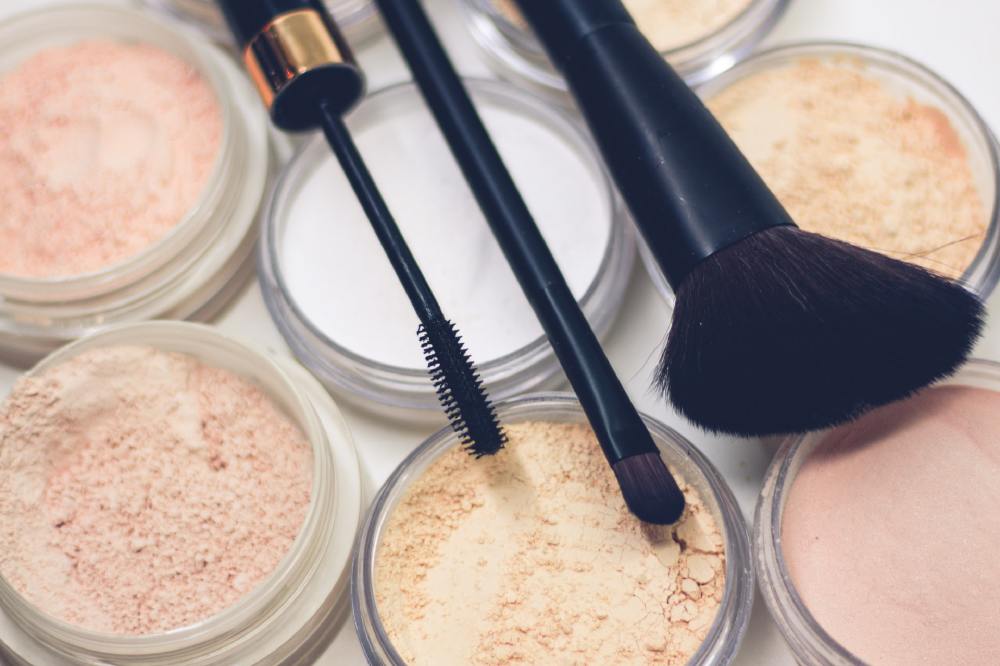
Powder should be the finishing touch to your camera-ready makeup. Just like any other day, you’ll probably want to apply some blotting powder to the T-zone to eliminate shine - which can be accentuated under a camera’s flash.
Finally, using brushes to apply your products will help ensure everything is well-blended, which is especially important on camera.
Tagged in Beauty Tips makeup