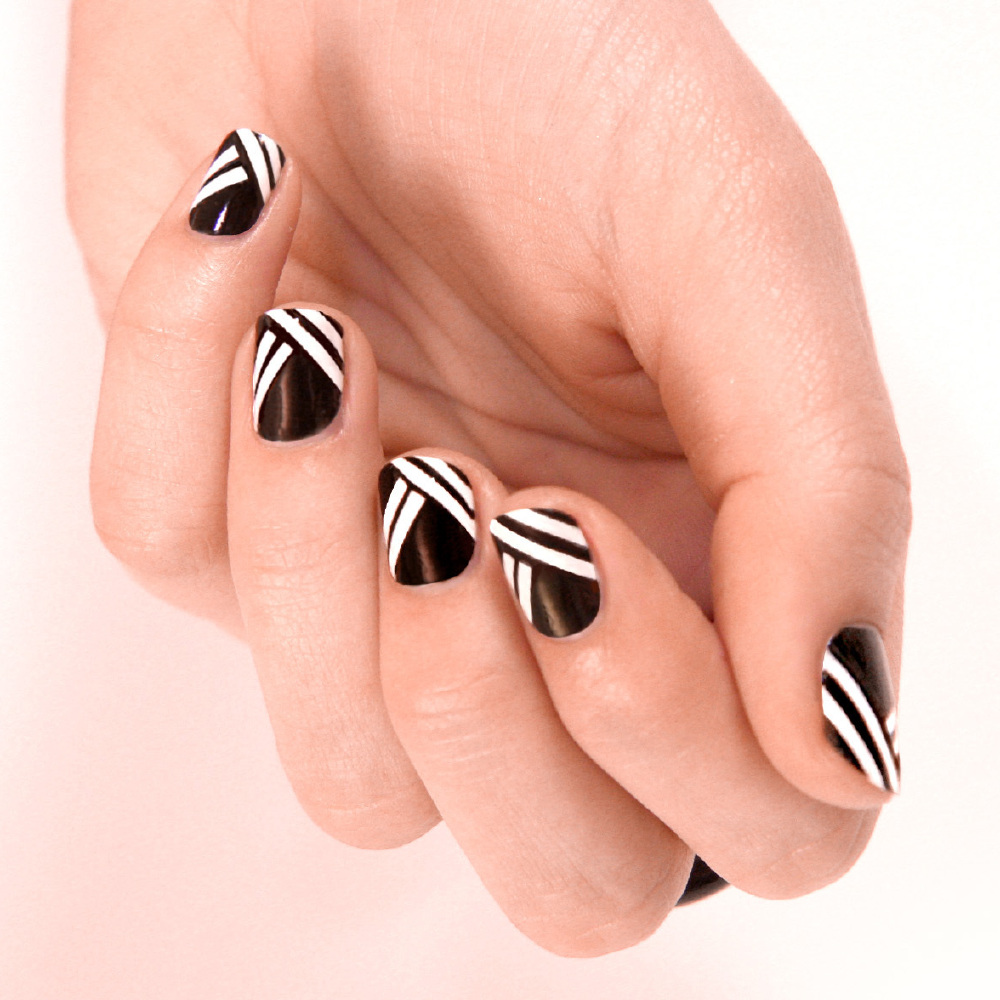
Monochrome nails that are chic and easy to do
Monochrome is one of the must-have fashion trends for this season, but if you're reluctant to try it out, test it on your nails first.
Or, if you're a big fan of the black-and-white look extend it to your manicure with these simple steps.
Here we have nail art blogger, Polly Polish’s Step by Step Guide to creating a Monochrome look.

What you will need:
Pixi White varnish
Models Own Black Magic varnish
Scotch Magic Tape
Scissors
Base Coat
Top Coat
Tweezers
Clean up brush
1) Apply a base coat and leave to dry.
2) Apply a thin coat of white polish (or two depending on opacity) and leave to dry.

3) Prepare some narrow 2mm wide strips of Scotch Magic tape using a sharp pair of scissors. Rest the edge of the strips on the edge of a clean object so that they can be easily picked up later.

4) When the white polish is dry arrange the strips in your chosen pattern on all of the nails. We have chosen to use opposing diagonal lines to create a striking monochrome look. Make sure they are smooth and in full contact with the nail but don't push on too hard. Use tweezers if you find it too fiddly with your fingers.

5) Once the tape is applied, paint one nail in black nail polish – painting over the white undercoat and the tape.

6) While the black polish is still wet, slowly remove the tape on the black nail piece by piece, using tweezers. Have a tissue handy to put the used pieces of tape on to.

7) Repeat steps 6 and 7 for each nail one by one.
8) Leave until touch dry and then apply a top coat.

9) If necessary, you can dip a small makeup brush into acetone and use this to clean up around the nail to create clean smooth lines.

10) Admire the finished look!

Tagged in Nail Art Nails Monochrome

